Updated on June 5th, 2025
Imagine opening your pantry to grab a box of cereal, only to find tiny moths fluttering out and webs clinging to the corners of the box. The sight of larvae wriggling through your stored food turns a routine task into a moment of dread.
Pantry moths—particularly the pervasive Indian meal moth—are a common issue in many households, contaminating stored food and compromising the quality and safety of your meals.
They can quickly overtake your kitchen—but getting rid of them doesn’t have to be complicated. With the right tools, including the best pantry moth traps and proven cleaning strategies, you can stop infestations before they spiral.
This guide introduces Dr. Killigan's Pantry Moth Traps as an effective solution. It serves as a gateway to a wealth of knowledge, linking to in-depth articles on recognizing, preventing and eradicating these pests. Early detection of infestation signs is crucial, but even diligent preventive measures may not always keep these persistent pests at bay.
Identifying and addressing pantry moth infestations
Follow these steps to identify and get rid of a pantry moth infestation effectively:
- Confirm the pest. Ensure you're dealing with pantry moths—not clothing moths or pantry beetles—by recognizing signs like webbing, larvae or adult moths. For tips on identifying pantry moths, read What moths are attracted to pantry moth traps?

- Remove infested items. Dispose of any infested food products, including birdseed. This eliminates the immediate source of the infestation and prevents the spread of larvae and eggs. For more on pantry moth feeding habits, read What do pantry moths eat?
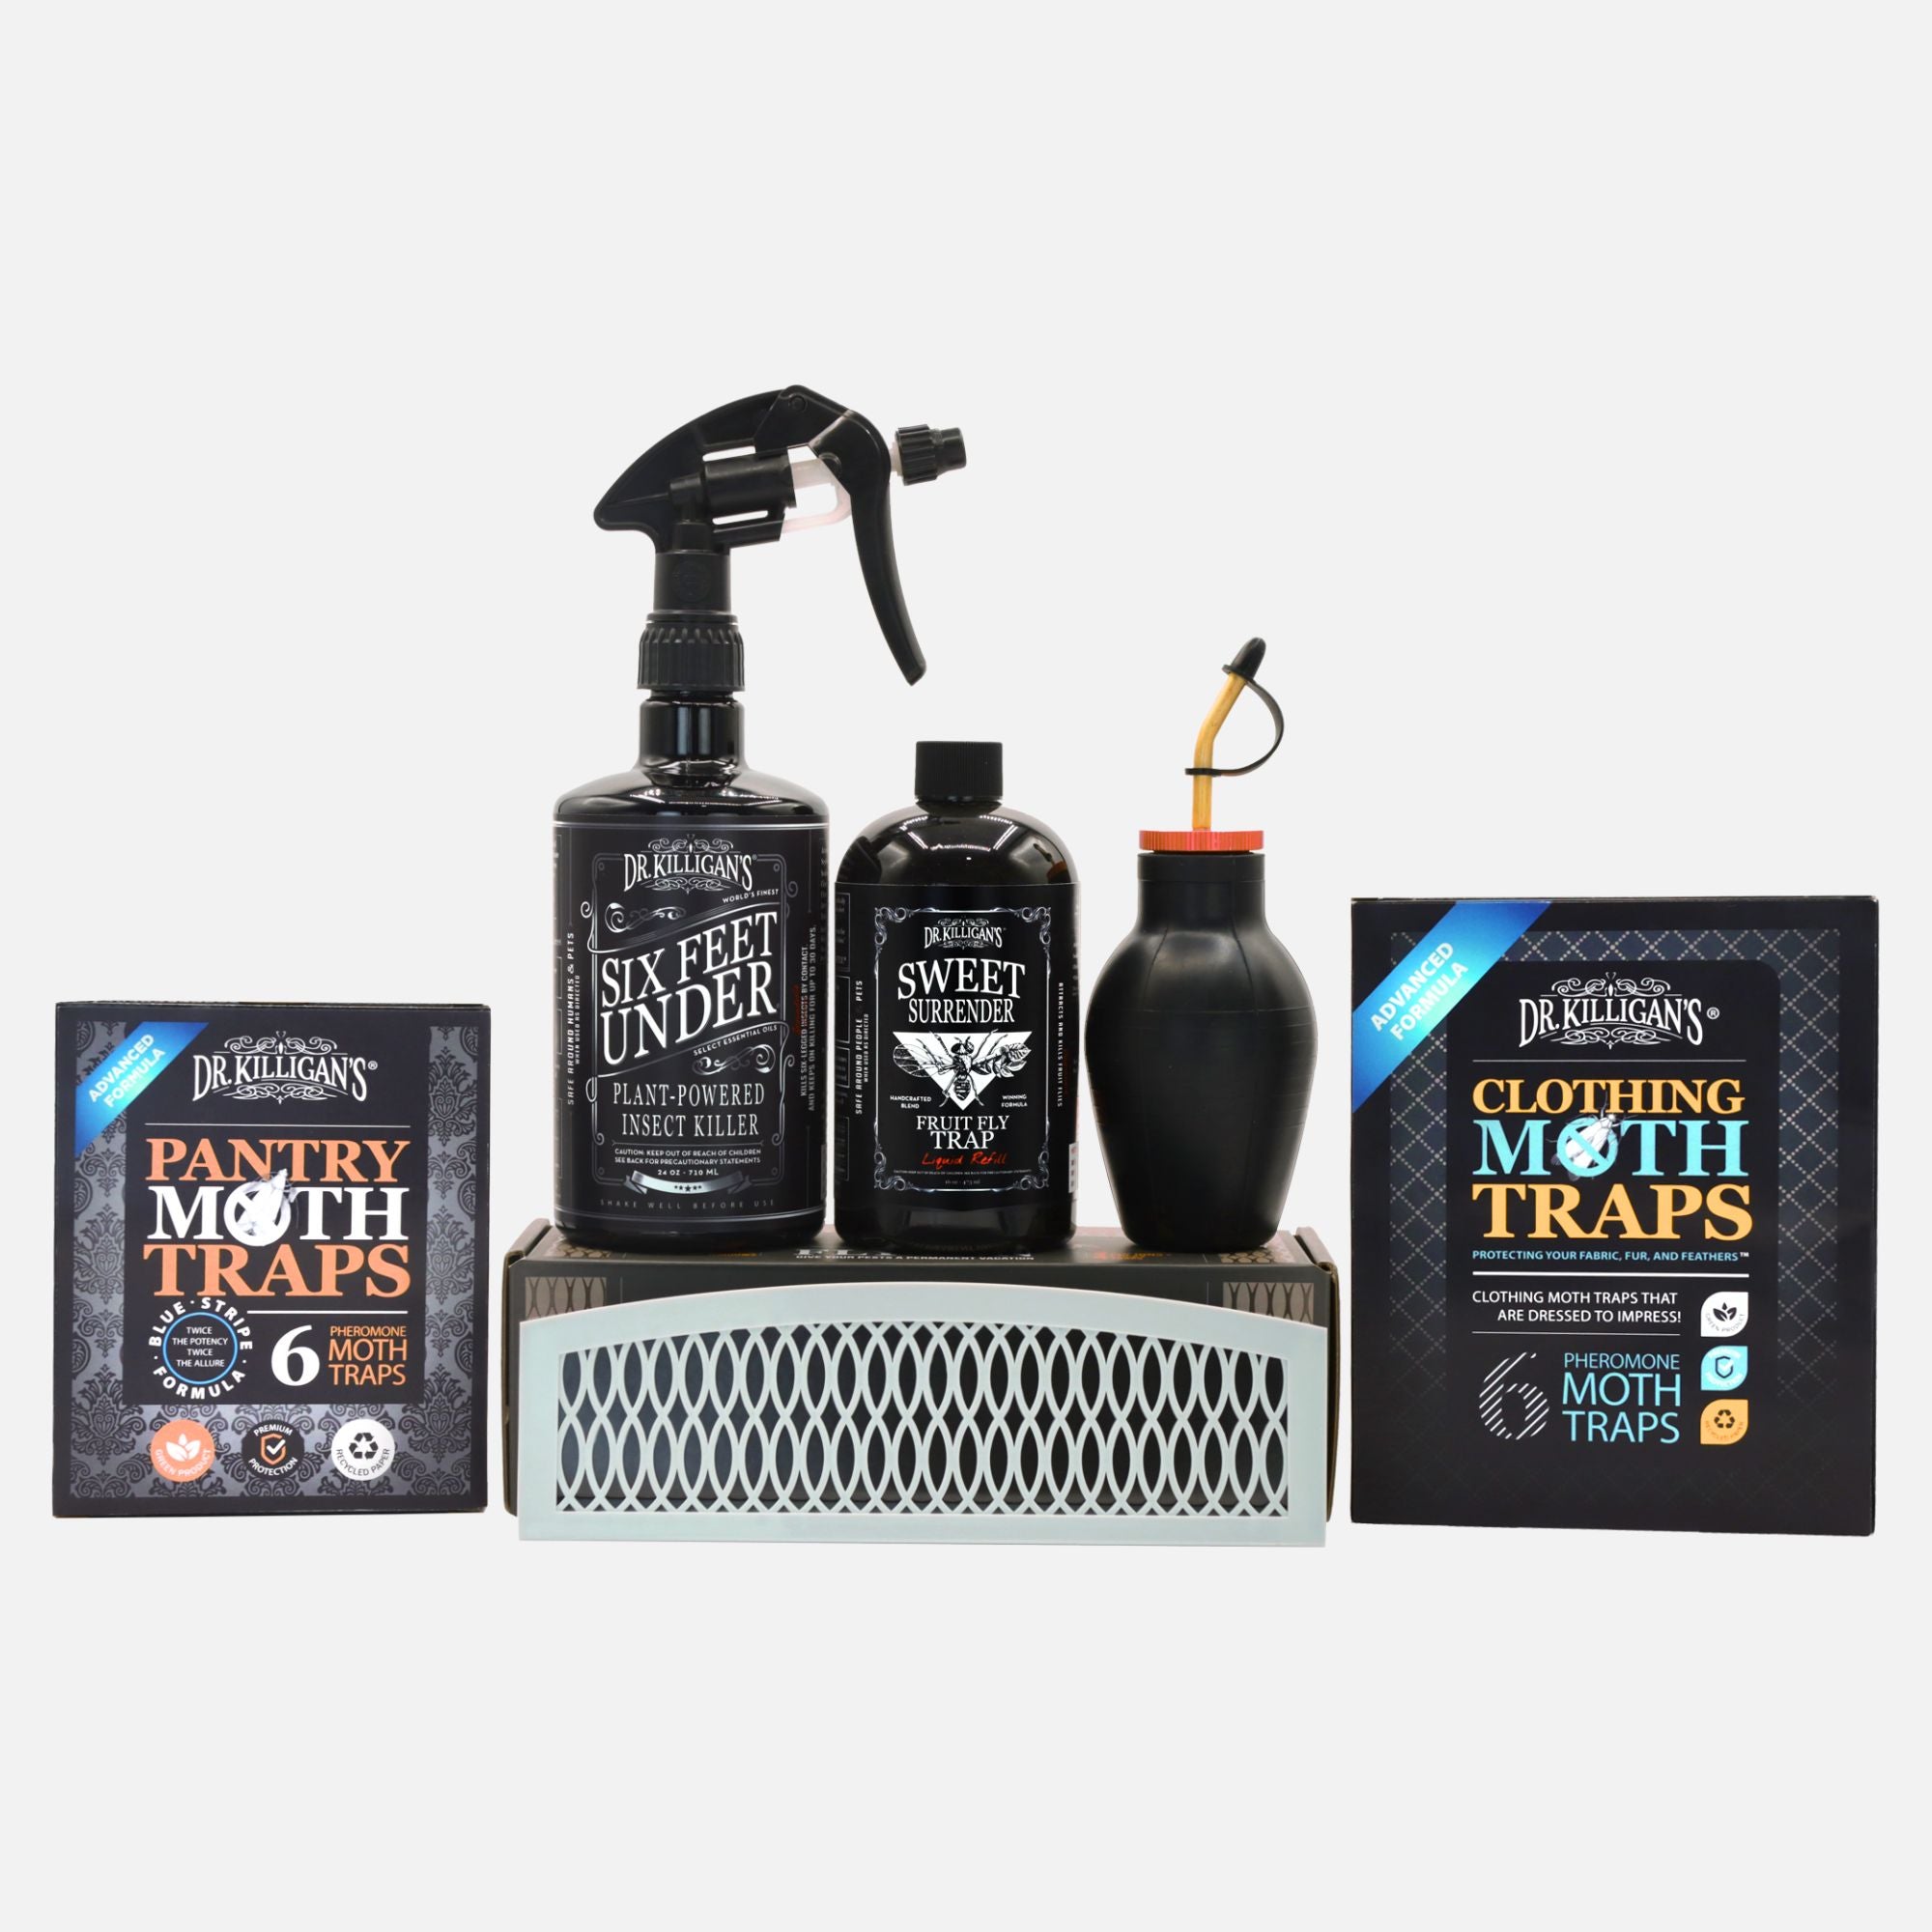
- Place traps. Use Pantry Moth Traps to target adult male moths. Position three traps in a triangular formation around the infestation area to maximize coverage. The traps’ pheromone lures male moths, which become stuck to the glue. Keep in mind that while traps reduce the breeding cycle, you will need to manually address female and juvenile moths. For detailed placement tips, read Where do I place moth traps to get rid of moths?
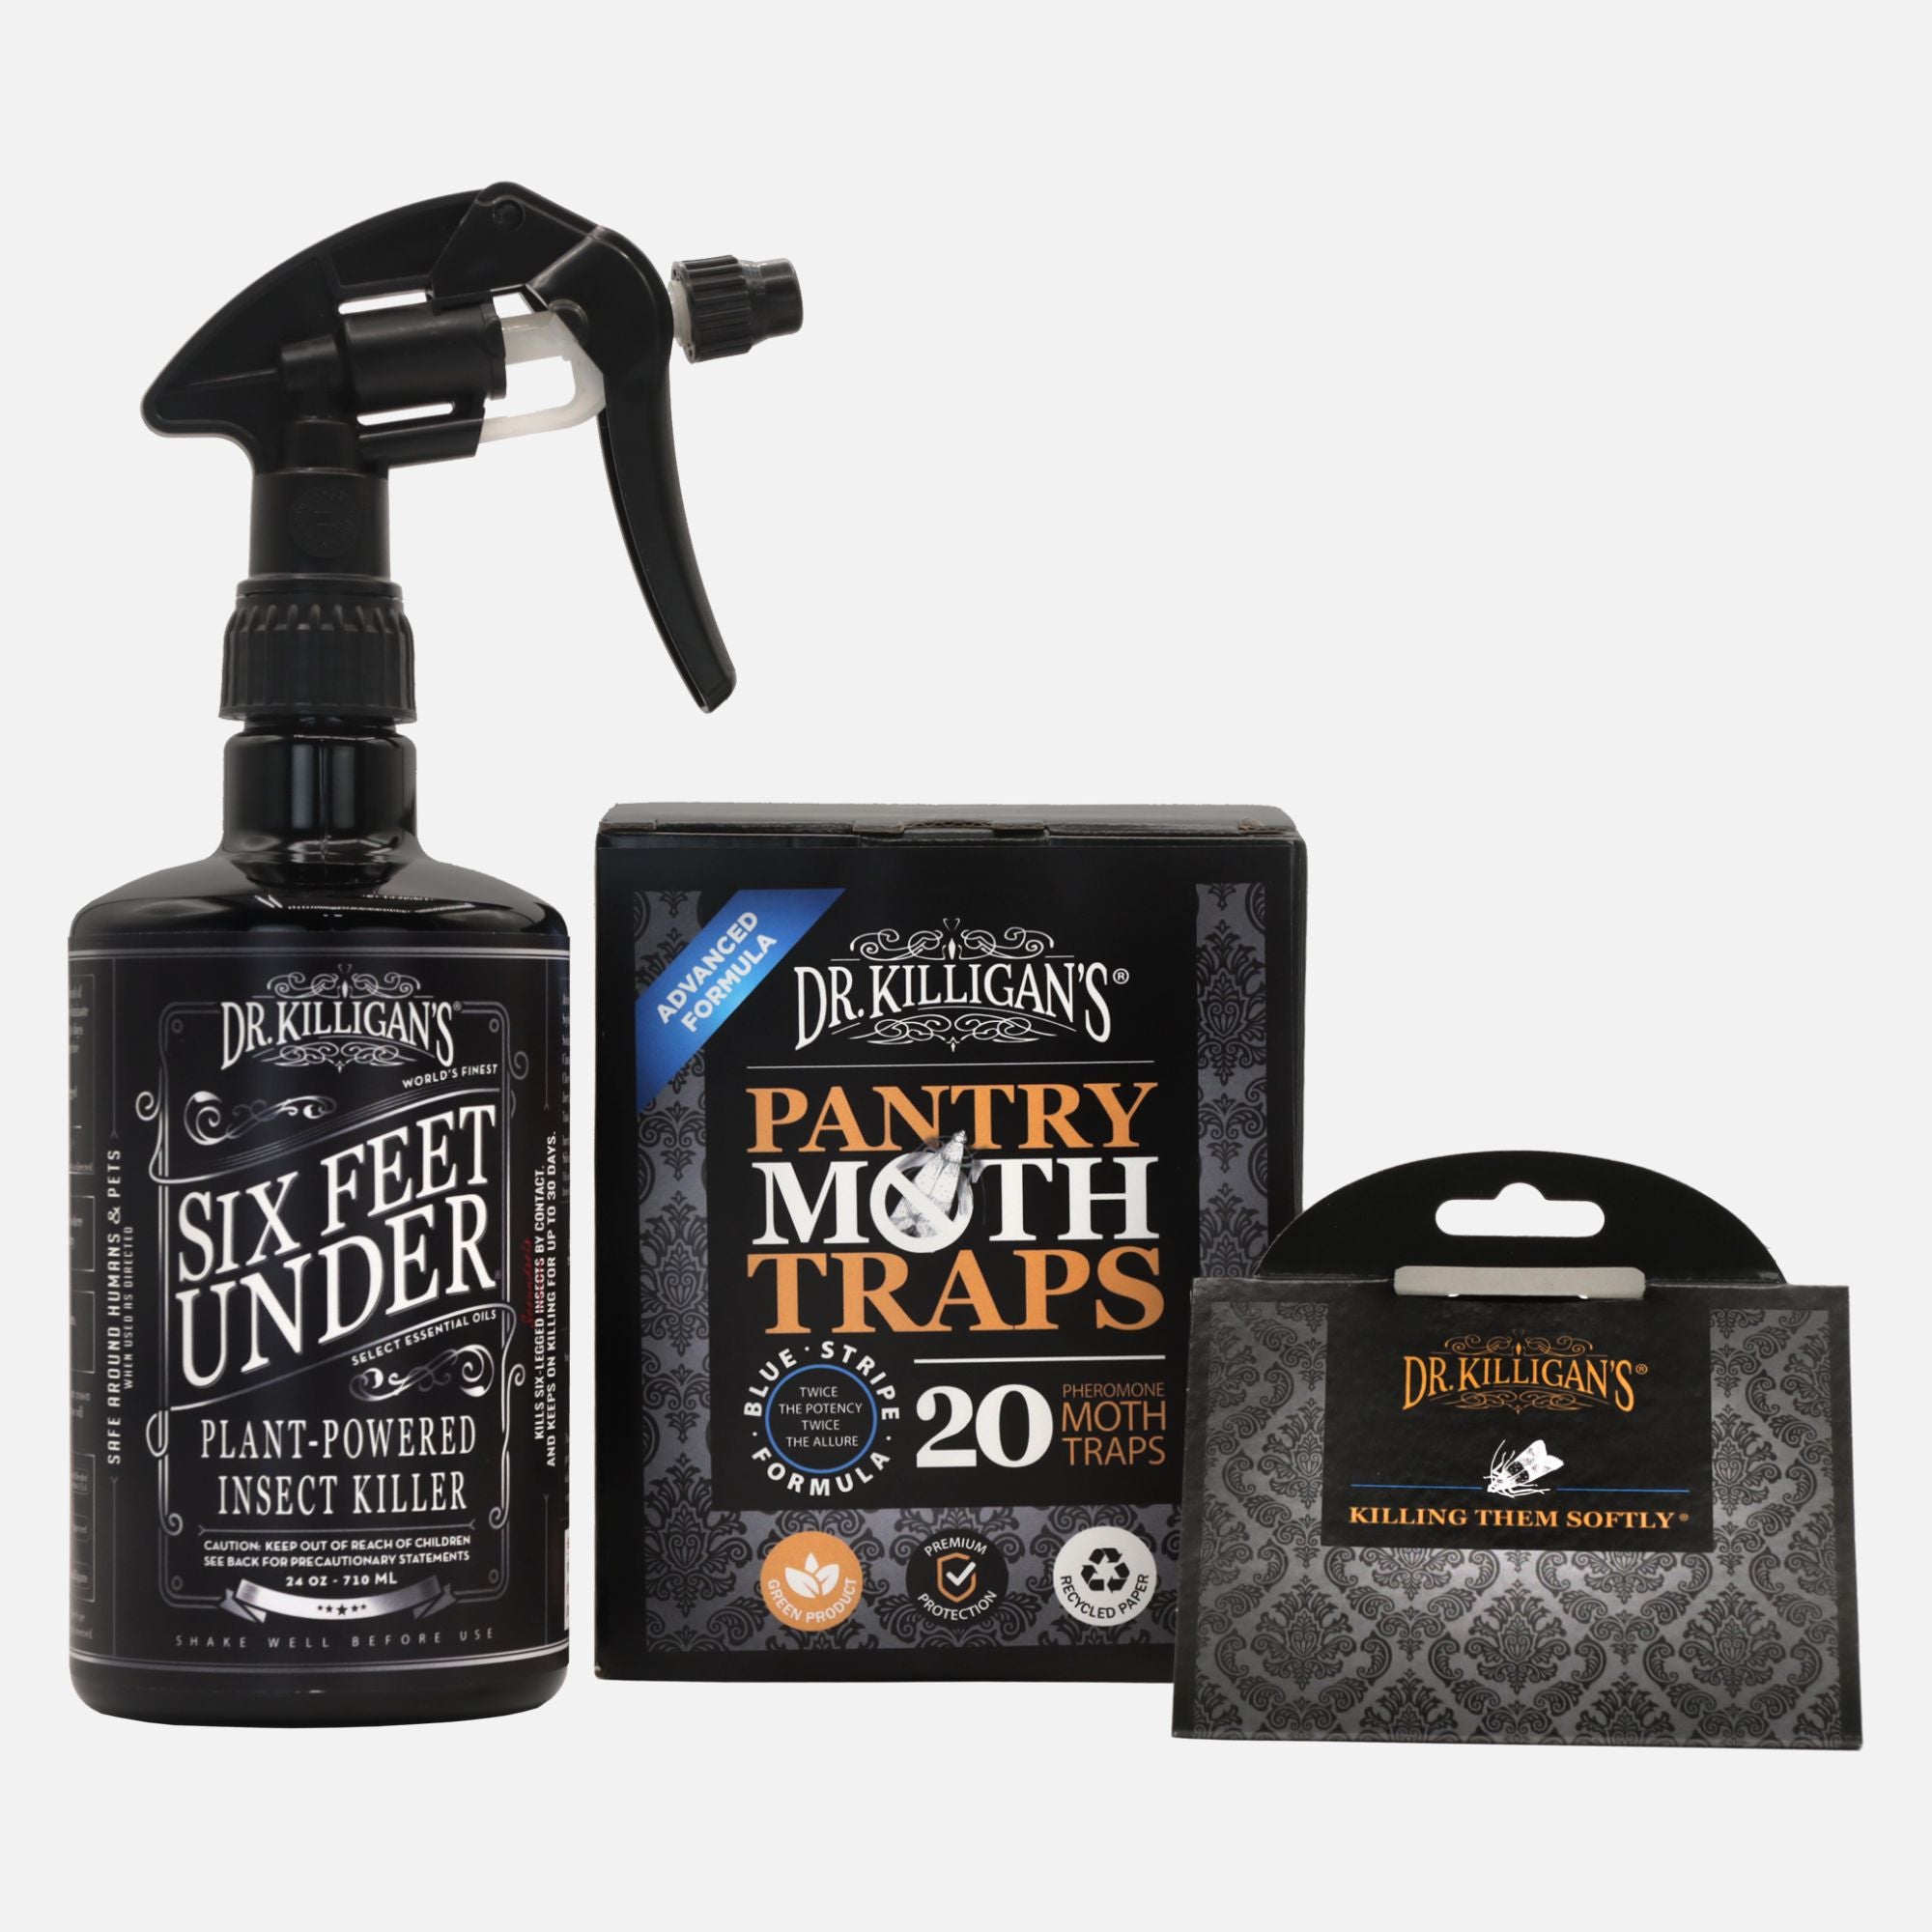
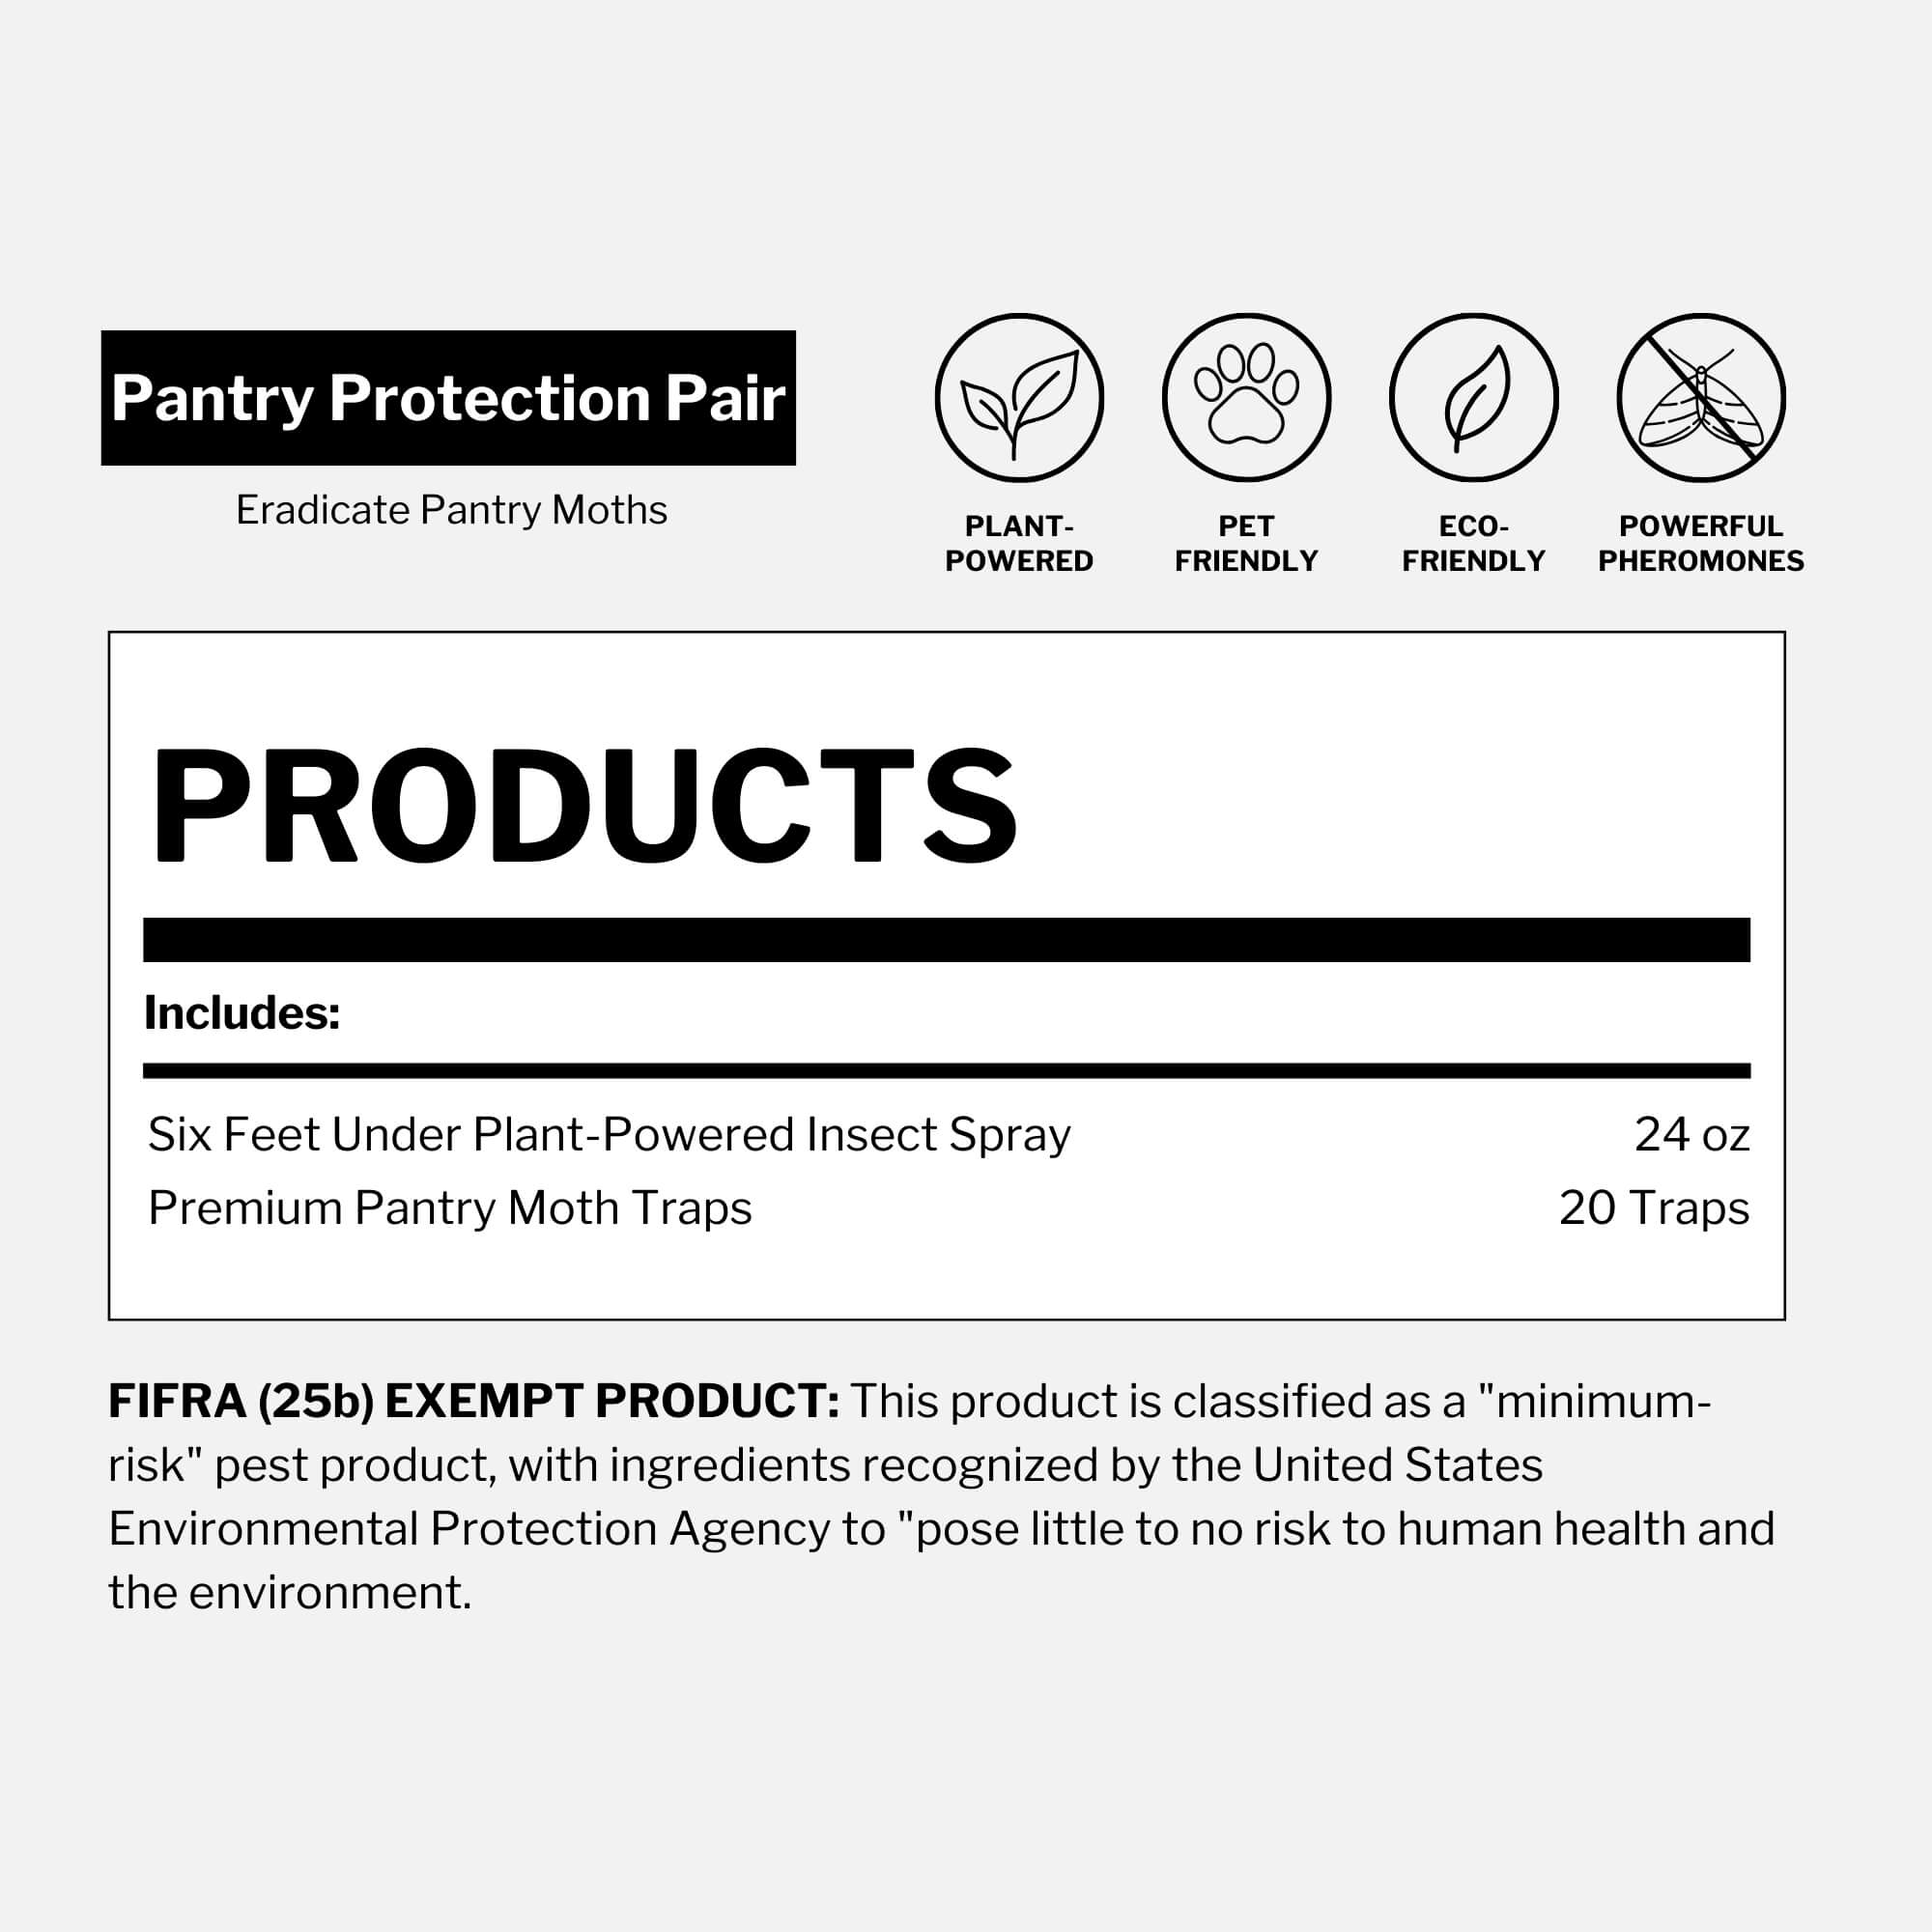
- Clean thoroughly. Focus on corners, crevices and hidden areas such as under shelf liners or within pantry door tracks. Use a vacuum to remove debris and eggs, then clean all surfaces with a vinegar solution and Dr. Killigan’s Six Feet Under Plant-Powered Insect Spray to eliminate any remaining larvae and eggs. Seal cracks and crevices with silicone caulk to block potential entry points and prevent future infestations. For additional guidance on where moths might hide, explore Beyond breadcrumbs: 6 unexpected places you might find pantry moths — and how to keep them out
Tip: Understand the health risks. While pantry moths are not directly harmful, they can contaminate food, raising health concerns. For more details, see Do pantry moths carry diseases?
What are the best pantry moth traps?
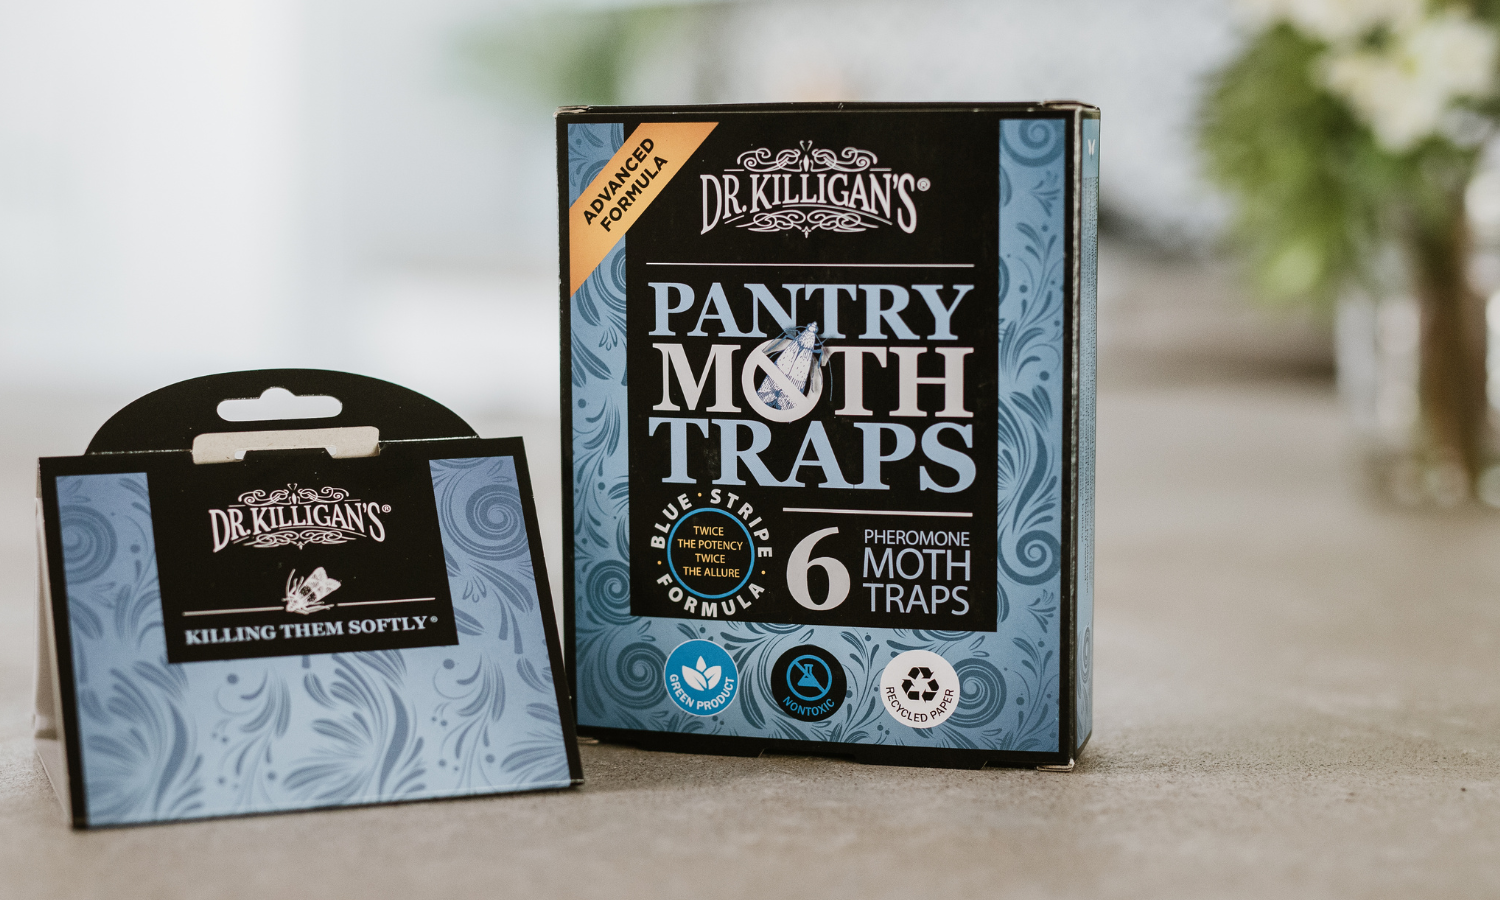
The best pantry moth traps use pheromones to lure adult male moths and stop the breeding cycle. Dr. Killigan’s Pantry Moth Traps feature the most potent double-lure formula and sticky glue on the market—designed to catch more moths faster.
Want a deeper dive into why these traps work so well? Explore our article: Banish the bugs, reclaim your pantry: The power of pantry moth traps
Best pantry moth traps: How to choose and use them effectively
Getting rid of pantry moths starts with selecting the right traps—safe, effective and environmentally friendly options are key. Here's why our Pantry Moth Traps stand out:
- Pesticide-free and safe: These traps use a pheromone-based mechanism, ensuring they are safe for use around food and family.
- Breeding cycle interruption: Attracts male moths, preventing them from fertilizing eggs and halting infestations.
- Advanced Blue Stripe Formula: Combines double-potent moth pheromones with the stickiest glue on the market for unmatched trapping efficiency.
- Proven reliability: Backed by customer testimonials and results, these traps effectively reduce pantry moth populations.
What makes Dr. Killigan’s Pantry Moth Traps the best choice?
- S. Martin's breakthrough: "After trying another brand with no success, I switched to Dr. Killigan's and was amazed by the immediate results. Unlike the other traps that failed to catch a single moth, Dr. Killigan's traps started capturing them like crazy! A true testament to their effectiveness."
- Rachel's relief: "Faced with a sudden and complete invasion of pantry moths, Dr. Killigan's traps were the only solution that worked. I plan to keep these traps on hand to maintain a pest-free pantry."
- Cecelia's astonishment: "Despite a seemingly solved problem after discarding contaminated cereal, setting up Dr. Killigan's trap revealed a hidden infestation, with moths swarming to it in seconds. It was an eye-opener to the hidden critters in my pantry, now caught effectively by the trap."
Breaking the pantry moth lifecycle: A key to getting rid of pantry moths
Understanding the pantry moth lifecycle is essential for implementing effective control measures. Female pantry moths lay hundreds of eggs in food sources, leading to larvae that contaminate stored goods. These larvae grow, cocoon into pupae and eventually emerge as adult moths, perpetuating the infestation cycle.
The most critical stage in this lifecycle is the transition from pupae to adults, where mating and egg-laying occur. Identifying and targeting this stage is vital for breaking the cycle.
Completely eradicating pantry moths involves breaking their lifecycle, which can take as little as three weeks or up to six months. The timeline depends on the severity of the infestation, the thoroughness of the cleaning process and whether all contaminated food sources have been removed.
For more insights into the pantry moth lifecycle and its impact on control strategies, read What Is the life cycle of a pantry moth?
Stop pantry moths before they spread: Why traps work

The most effective way to control pantry moths is by stopping them before they can reproduce.
Our traps utilize a powerful synthetic pheromone that mimics the scent of a female moth, drawing in male moths and preventing them from mating. With fewer eggs laid, infestations slow and eventually die out.
This early interception is essential for halting the spread and reducing the moth population before it escalates.
How to keep your pantry moth-free after an infestation
Eradicating pantry moths and preventing their return requires a consistent and proactive approach. Incorporating pantry moth traps into your regular maintenance routine is one of the most effective ways to get rid of pantry moths and prevent future infestations.
Keep a pantry moth trap out at all times. Using traps continuously will help you detect pantry moths early and prevent infestations from escalating. Opened traps remain effective for up to three months, while unopened traps are good for three years from the manufacture date.
For additional steps to ensure your pantry remains moth-free, follow these preventive measures:
- Store goods in airtight containers. Use mason jars or other tight-sealing containers for grains, cereals and dry goods. This prevents pantry moth larvae from spreading if inadvertently brought into your home. If contamination occurs, you’ll only need to discard the affected container.
- Keep dry goods in your freezer or refrigerator. Storing items like flour, oatmeal, baking mixes and nut products in cold storage eliminates the chance of infestation.
- Freeze-dry goods for 48–72 hours. Freezing grains, nuts and other goods for 48–72 hours ensures any larvae present are killed. This precaution is especially useful for bulk purchases of birdseed, pet food and corn-based cat litter.
With these habits in place, pantry moths won’t stand a chance.
Take action against pantry moths today
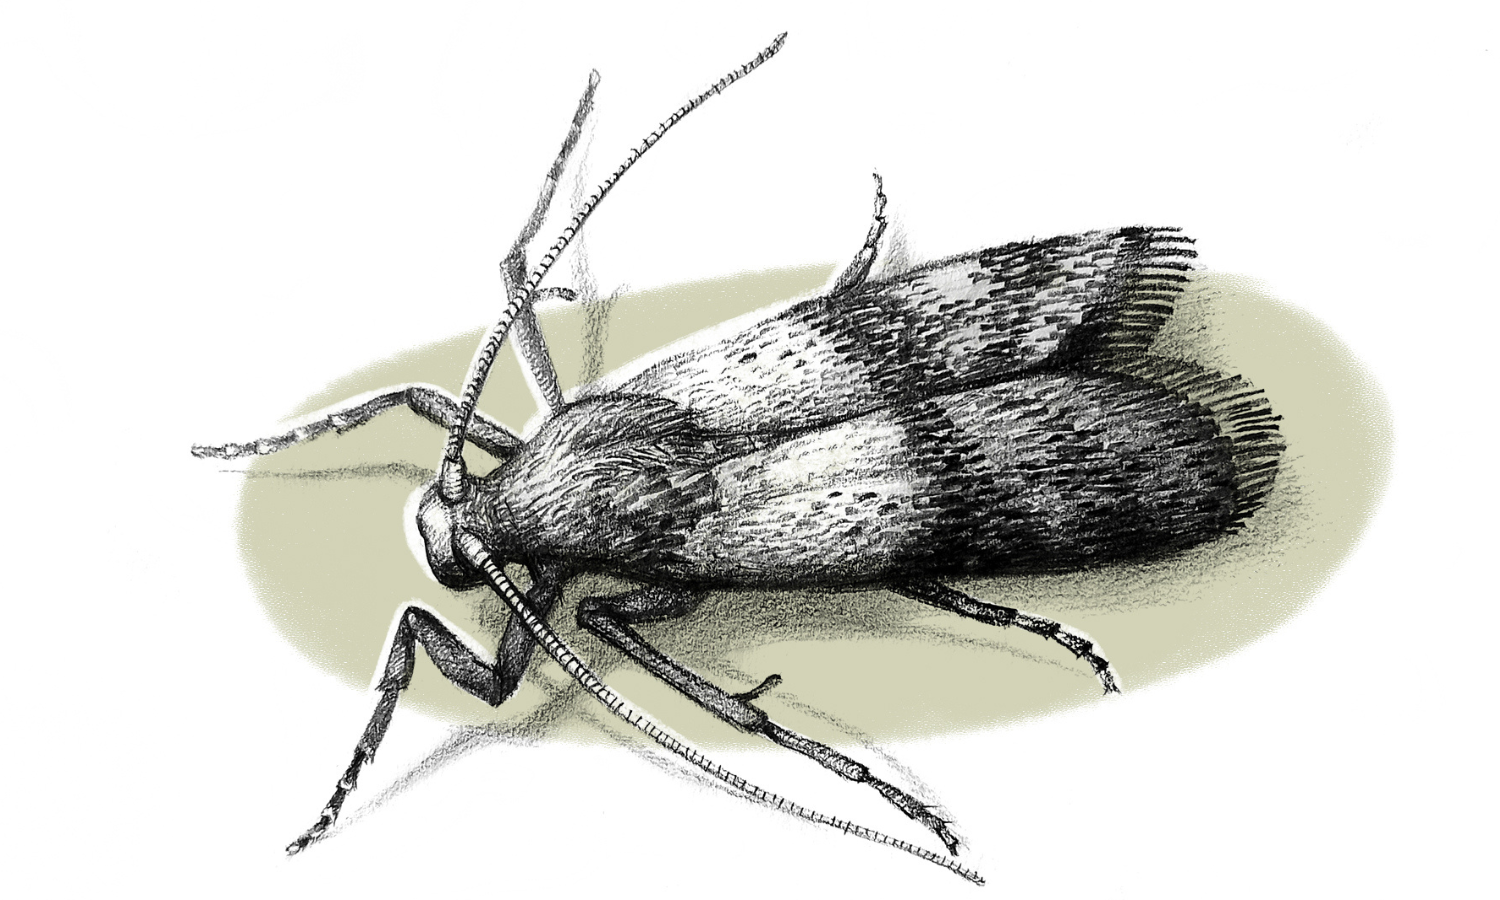
Pantry moths can be a persistent challenge, but with the right strategies and tools, you can reclaim your pantry. Our Pantry Moth Traps provide proven, long-term protection, ensuring your food storage remains secure and moth-free. Act now to safeguard your pantry and enjoy peace of mind with our trusted, eco-friendly solutions.
Visit Dr. Killigan's website today for expert guidance and premium products designed to eliminate pantry moths effectively. Your moth-free pantry starts here.


